Reselling Photos That Sell (With a Phone You Already Own)
 fig. 3 — window light, plain wall
Photos are 80% of the sale
Buyers scroll past text. The photo stops the thumb, the photo answers "is this legit," and the photo sets the price ceiling. The good news: great reselling photos are a system, not a talent — set it up once and every item takes two minutes.
The setup (one-time, ~$0)
- Light: daylight from a window, item facing the light, you between them at an angle. No overhead bulbs (yellow shadows), no direct harsh sun. Cloudy days are perfect.
- Background: one consistent, boring background — a white wall, a clean wood floor, a plain sheet ironed once. Consistency makes your closet page look professional even when individual shots are ordinary.
- Camera: your phone's normal lens (not ultra-wide — it distorts), lens wiped, grid on, HDR on if offered.
- Presentation: pick one and stick to it — flat lay (fast, great for tees), hanging (shows drape, great for jackets/dresses), or worn (sells best, costs the most time). Steam or smooth wrinkles; wrinkles read as "smells like a bin."
The five shots every listing needs
- Front, straight on, whole item in frame — this is your cover shot.
- Back — buyers assume a missing back photo hides something.
- Brand + size tag, in focus — proves authenticity and kills the #1 question in your DMs.
- Detail that sells it — the graphic, the stitching, the hardware, the texture.
- Every flaw, honestly, up close — a photographed flaw is a disclosure; a discovered flaw is a return and a bad review.
shot 1 — cover: straight on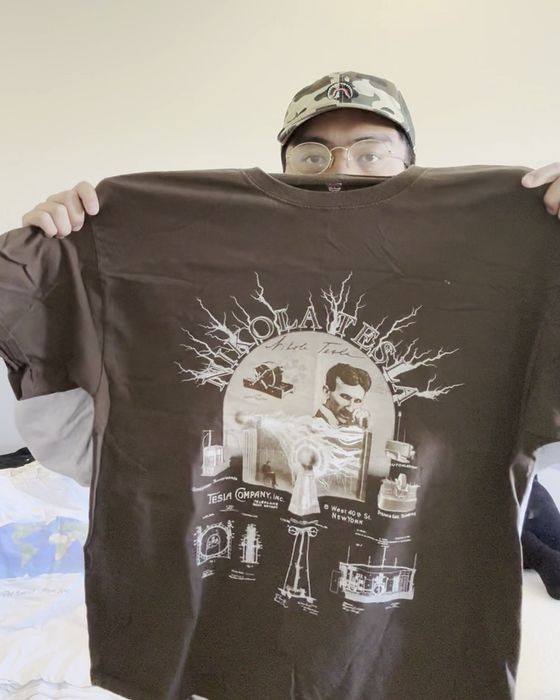 shot 4 — the detail that sells
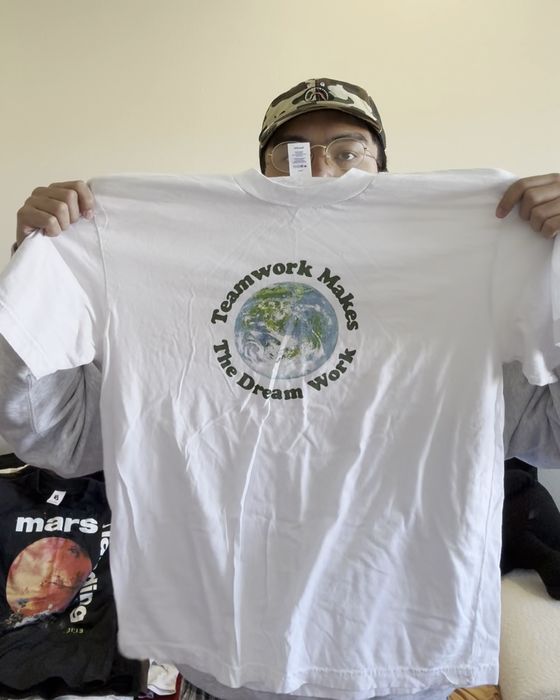 shot 3 — brand + size tag
Why the boring consistent background matters
These four shots came from the same session, same wall, same light — notice how they already read as one shop, not four random photos:


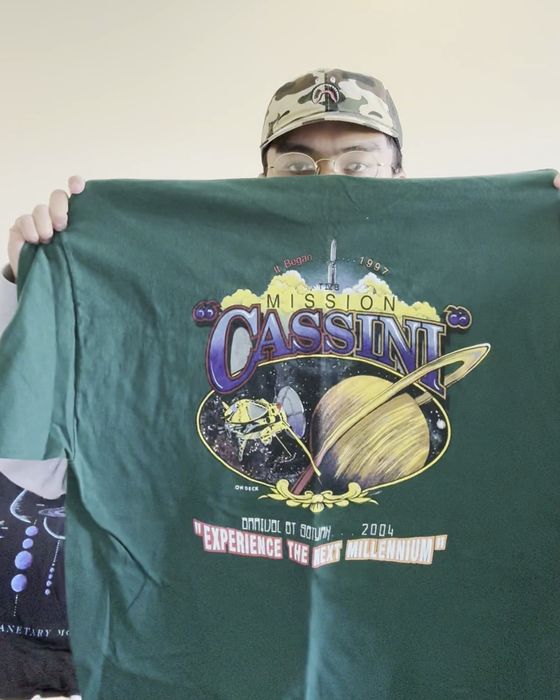
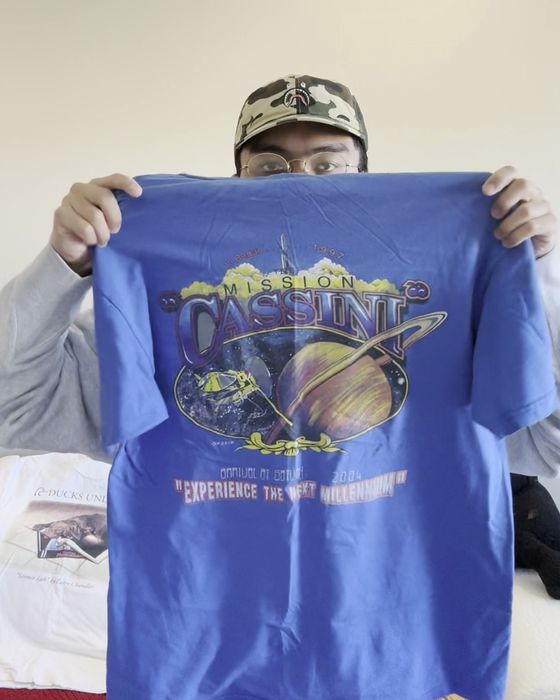
one wall + one window = a closet page that looks professional
"Great reselling photos are a system, not a talent. Build the system once."
Batch it or it won't happen
Photographing one item is a chore; photographing thirty in a row is an hour with a podcast on. Set up the light and background once, run the pile through shot-by-shot (all fronts, then all backs, then all tags), and your phone's camera roll becomes an organized inventory by itself.
The shortcut version
This whole part is what Vylist automates: film one walkthrough video of the pile — holding each item front, back and tag to the camera — and it pulls the sharpest frames as listing photos, cleans the backgrounds, and writes the listing to go with them. The five shots above still apply; you just film them instead of photographing them one by one. First 10 listings are free.
Try it with one video →Part 3 checklist
- One window + one consistent background chosen
- Test the five shots on a single item; check them at phone-screen size
- Batch-shoot (or batch-film) your first 10 items in one session