Film your closet once.
Sell it everywhere.
This is the full tour of Vylist — from the settings worth touching, to filming your first walkthrough video, to one item live on eBay, Depop, and Shopify at the same time. Follow it in order or jump to the part you need.
Set your defaults once.
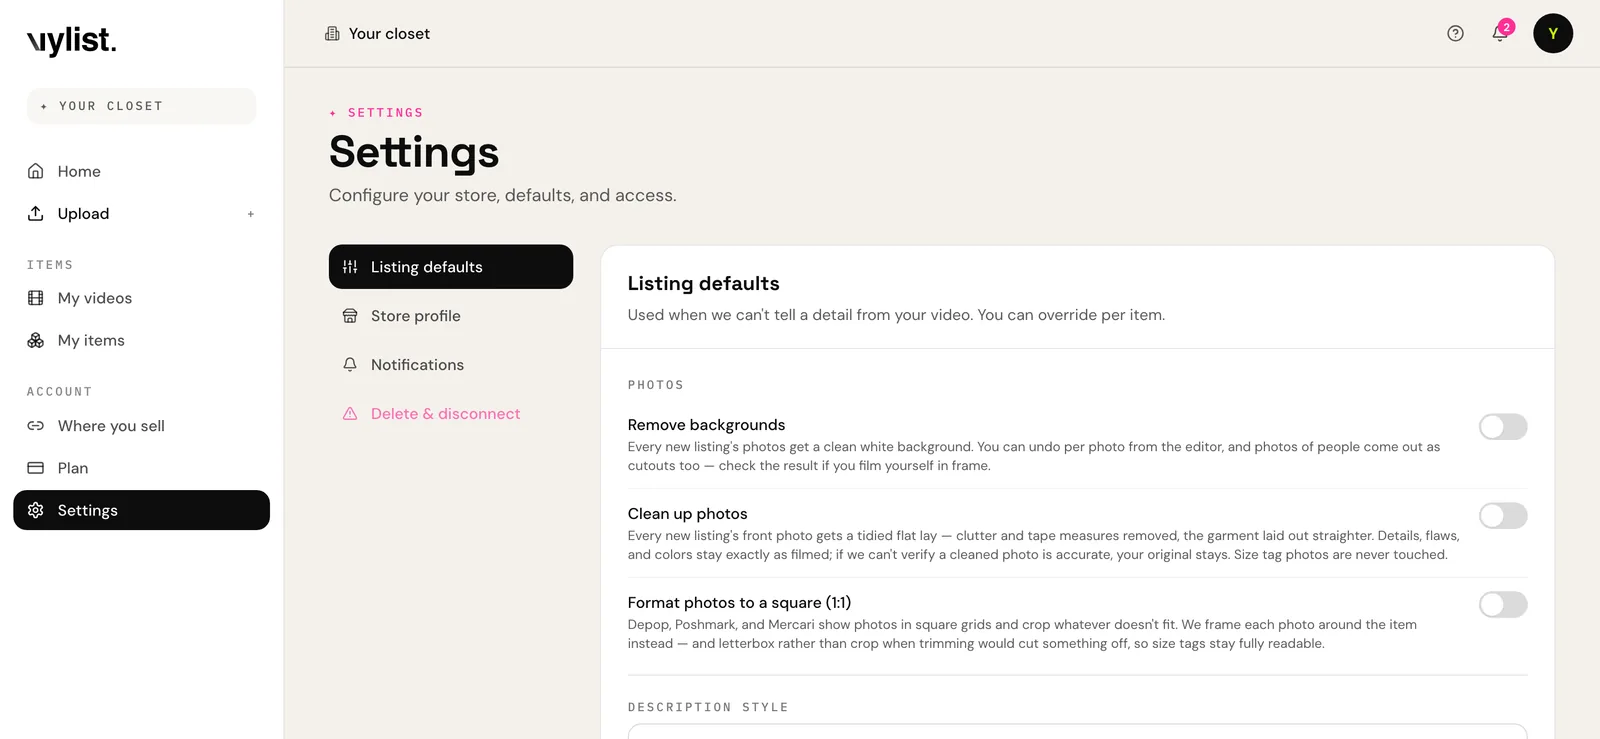
Everything lives under Settings, at the bottom of the sidebar:
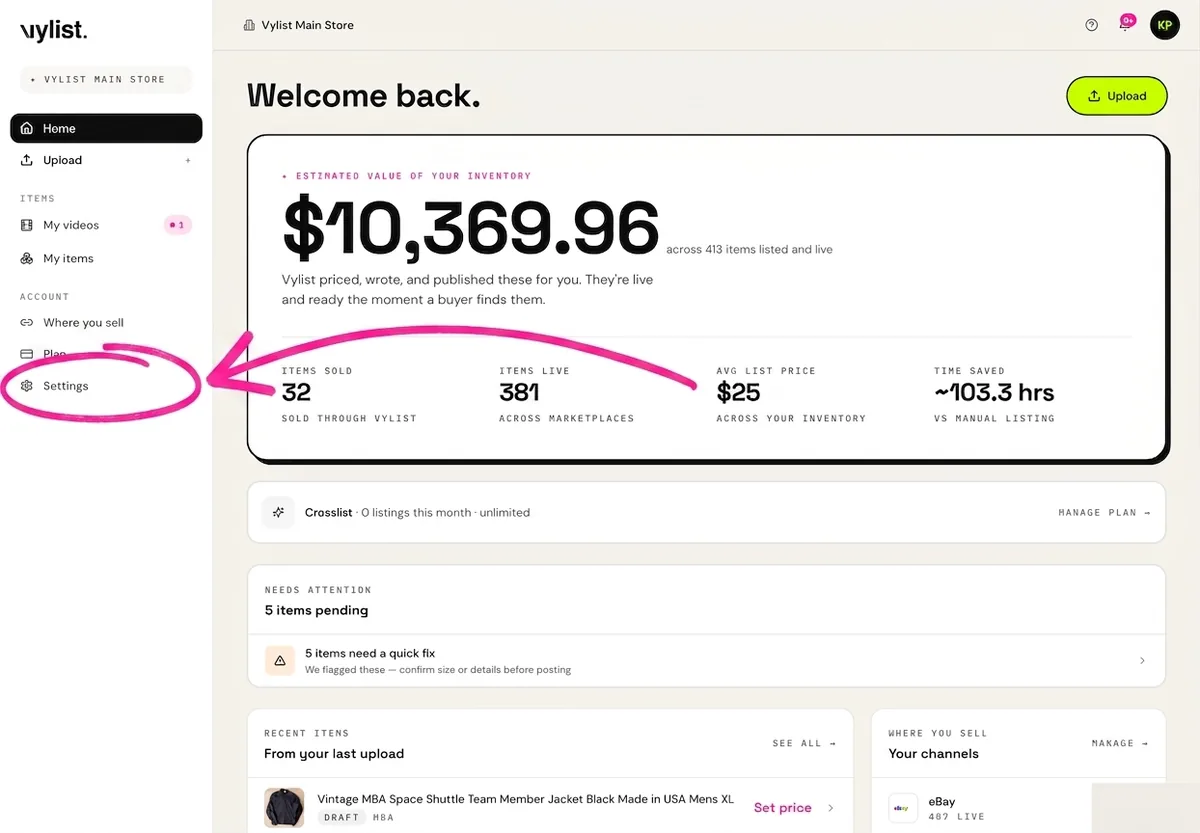
Settings opens on Listing defaults — the tab that matters most. Anything set here is used when we can't tell a detail from your video, and everything can still be changed per item later.
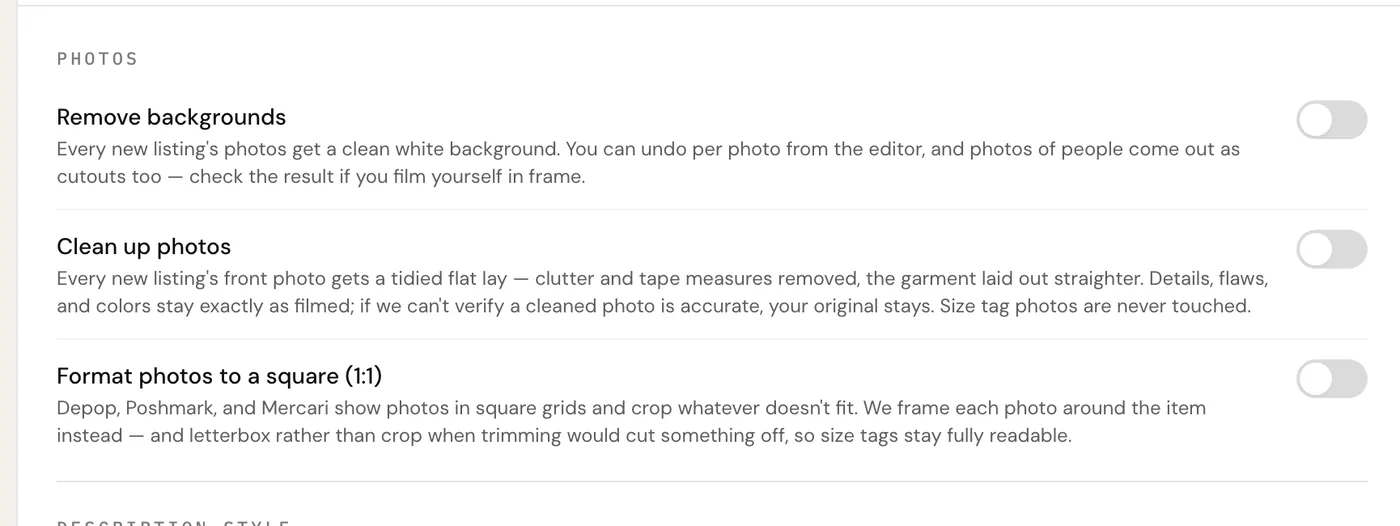
- Photos — three toggles that decide how every new listing's photos come out: remove backgrounds, clean up photos, and square 1:1 formatting. They're off until you flip them; stop 05 shows each one on and off.
- Description style — a sentence or two about how you write, and we match that voice in every new title and description.
- Unisex items post under — Depop, Poshmark, and Mercari have no unisex section, so pick Men's or Women's once instead of fixing it item by item.
- Pricing — the default sale-price strategy (match sold comps, or price under/over them), a minimum margin, and whether we may fall back to a labeled retail estimate when no exact sold match exists.
- Auto re-list & price drops — what happens when things don't sell: re-list expired eBay listings free of charge, drop the price after 30 days, archive after 90.
One video, every item.
No photoshoot, no typing. Film one slow pass of your pile with your phone — show each piece front, back, then the size tag, and move on to the next one. We turn each garment into its own listing: framed, written, and priced.
Hold it up, lay it flat, or leave it on the rack — all three work:
Where to upload
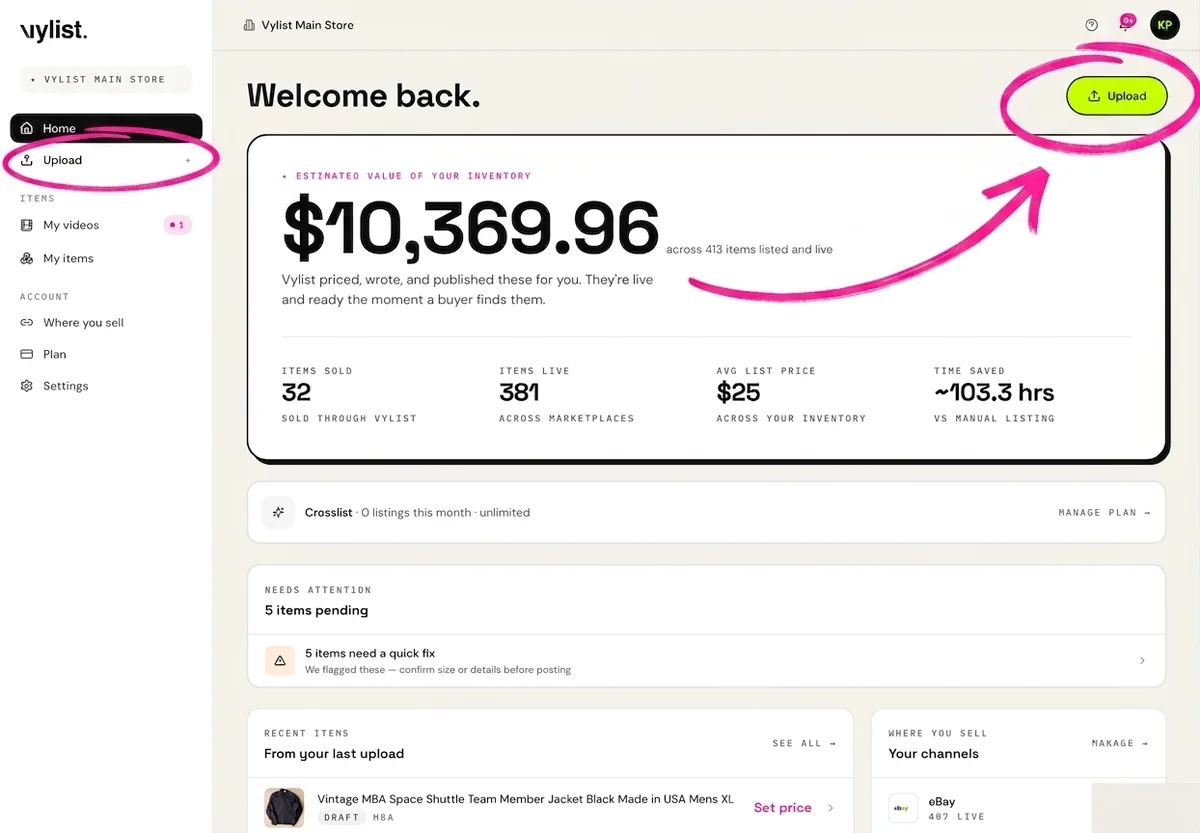
Hit Upload — the green button that follows you around the app, or the same word in the sidebar. Drag your video in (or hit Choose file), then press Make my listings. MP4, MOV, or WebM — whatever your phone records — up to 2 GB and anywhere from 60 seconds to 30 minutes.
That lands you here — drop the video and go:
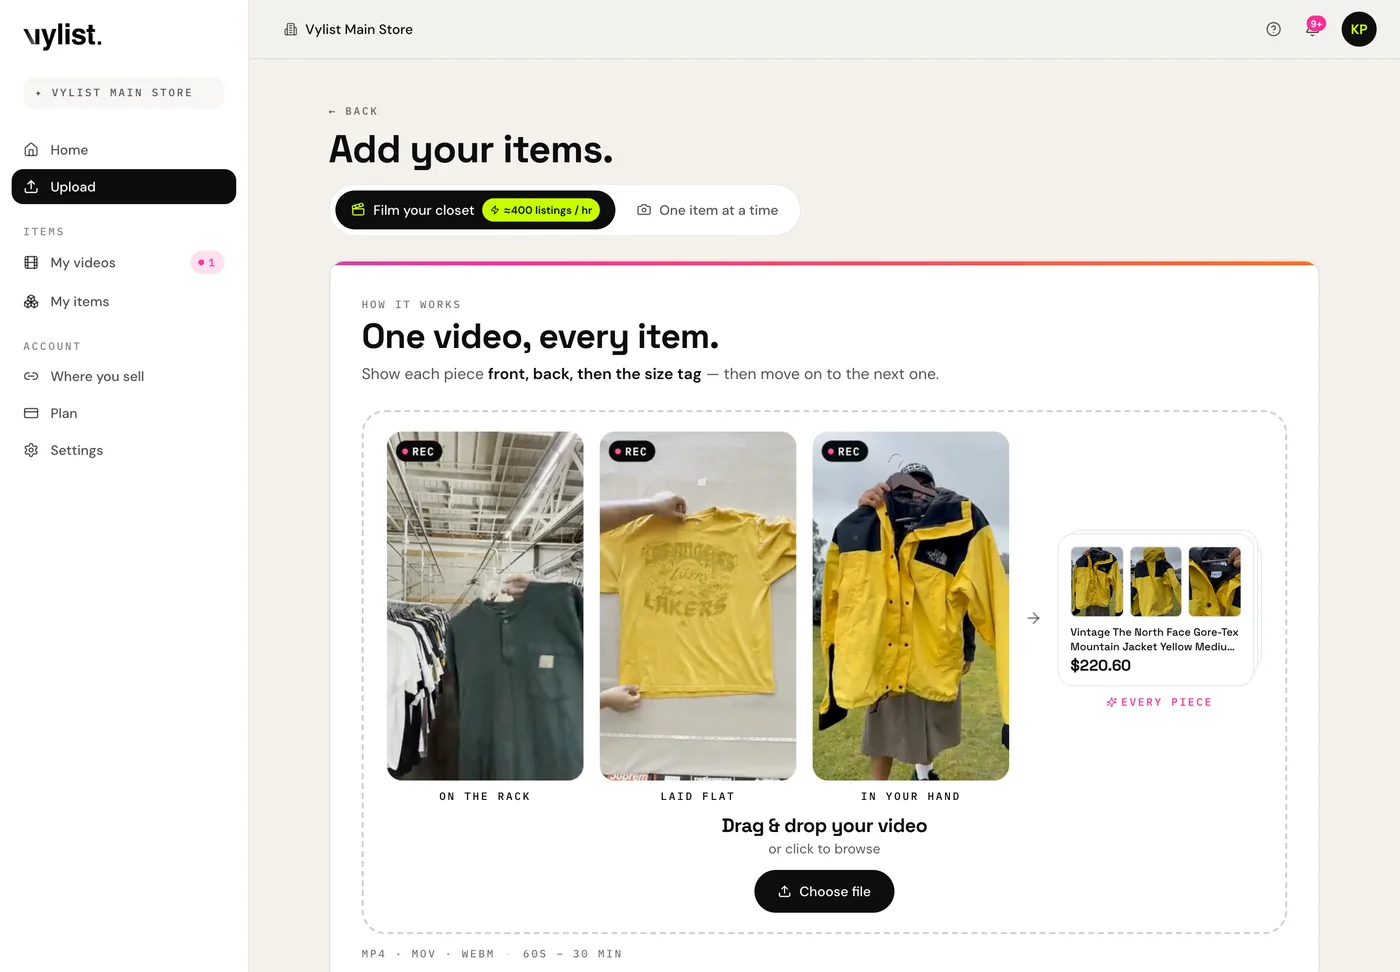
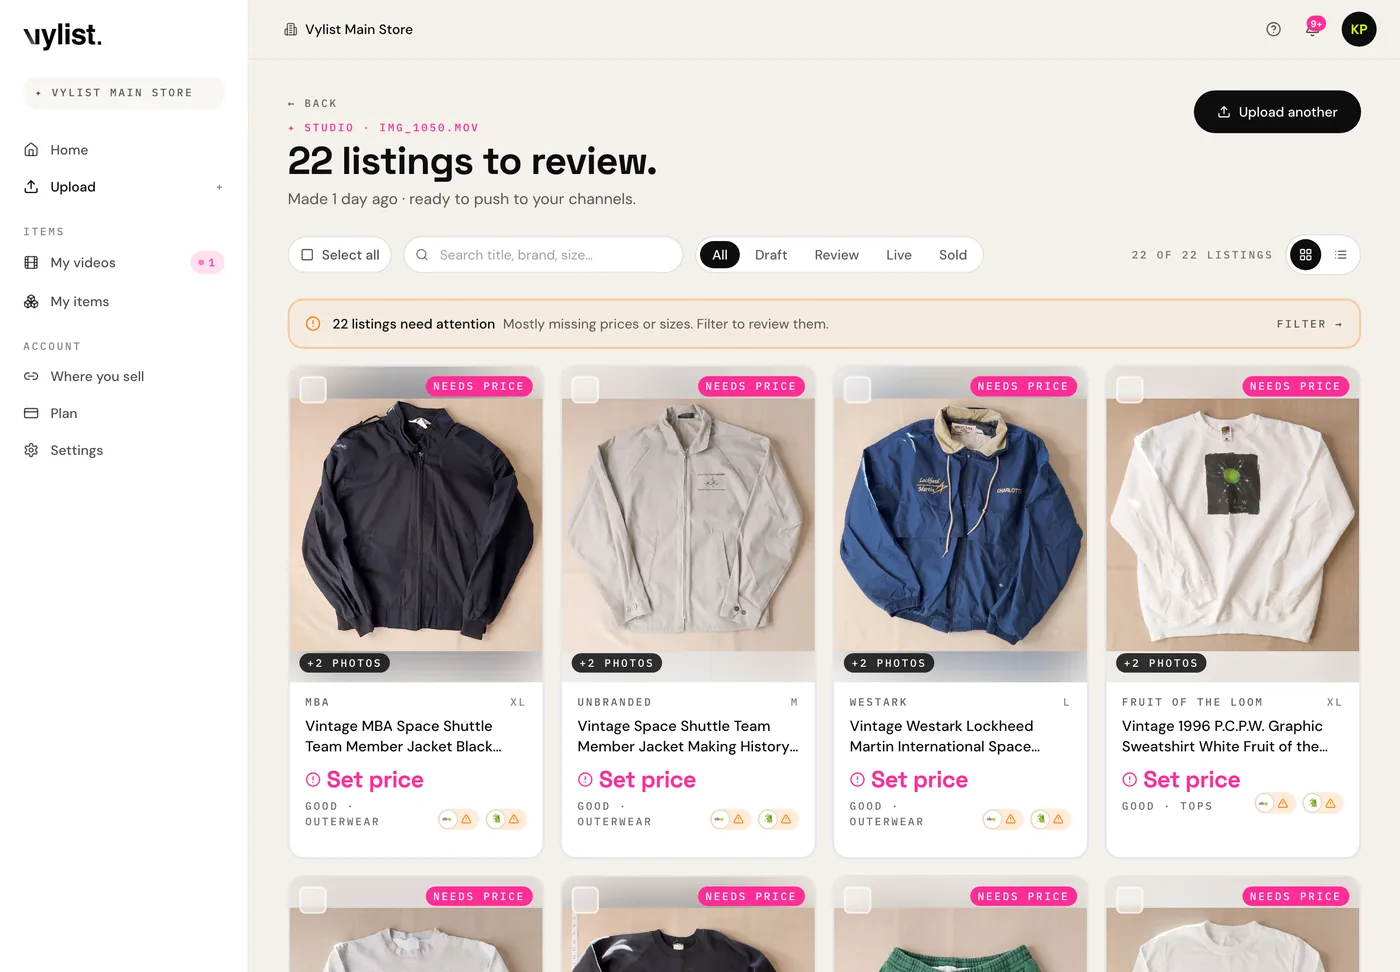
A few minutes later the listings appear, ready to review — a full rack turns into about 400 listings per hour of video. This is what one pass becomes:
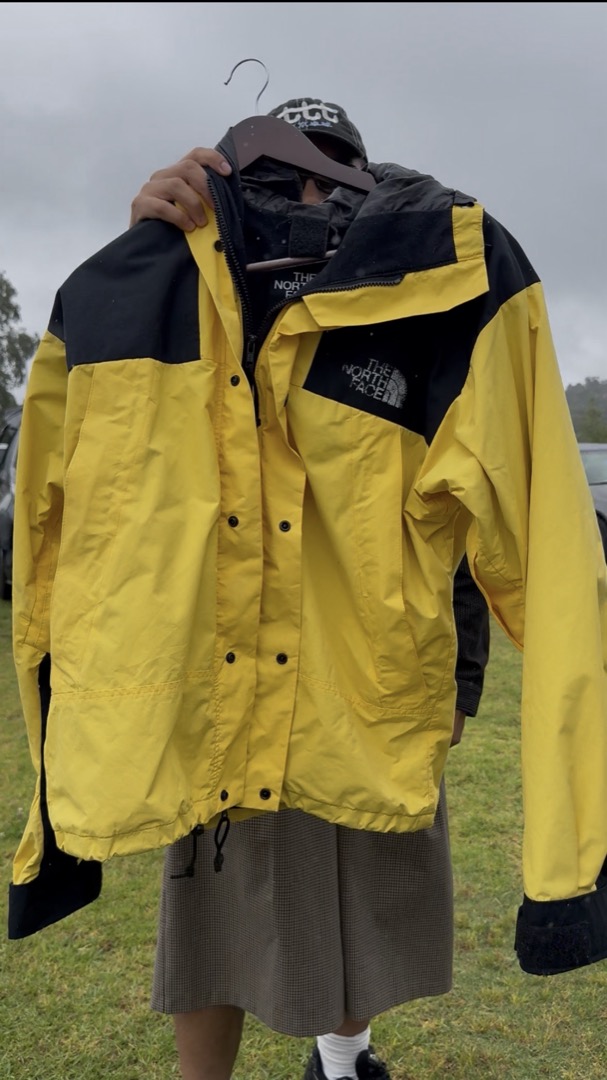

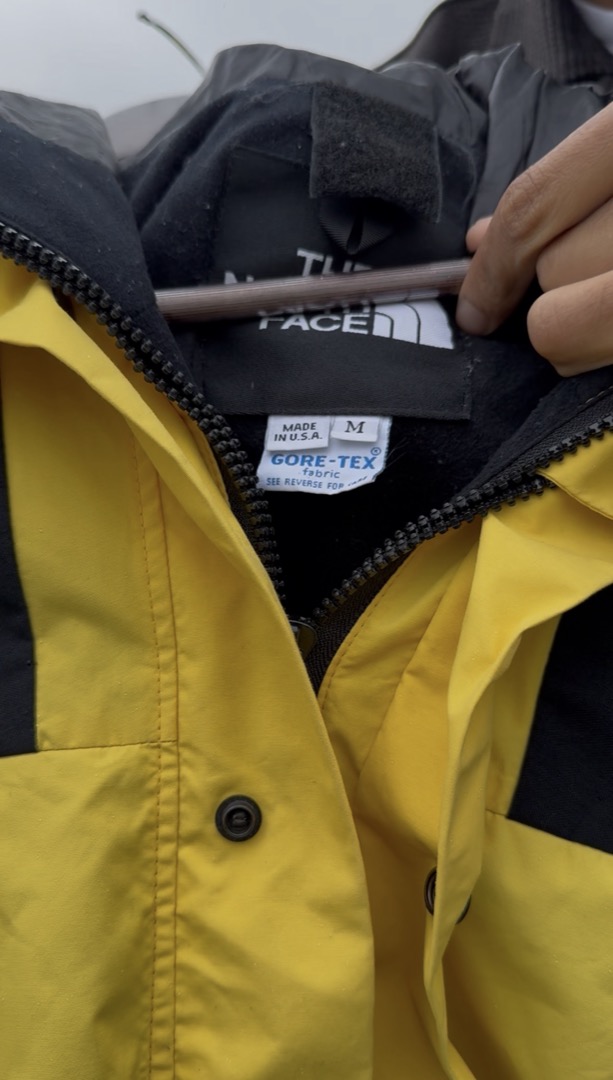
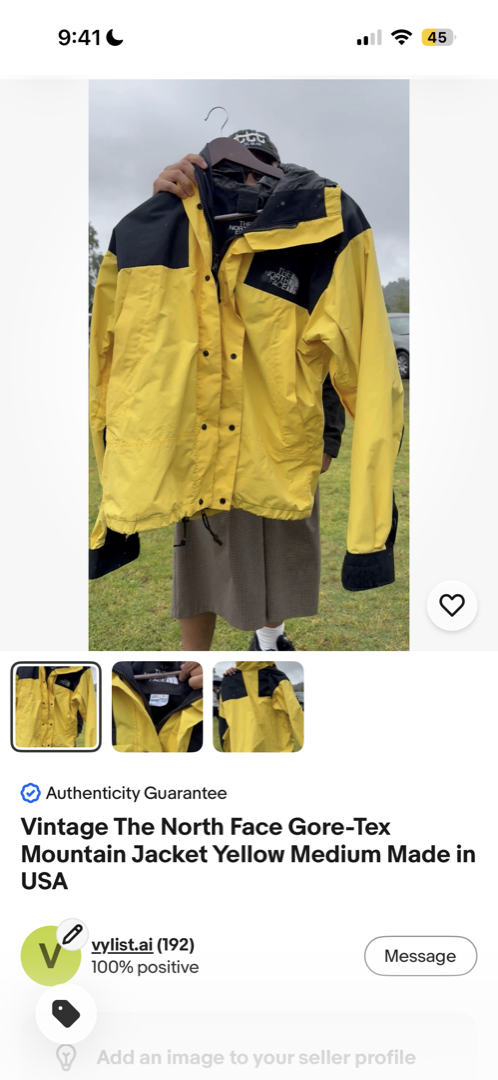
front · back · tag → one finished listing, written and priced
Every video keeps its own rack.
My videos is the shelf: every video you've uploaded and the listings it turned into — with counts for items, drafts, live, and sold. Tap a video to open its studio: just that batch, ready to review and push to your channels. If a few listings need attention (usually a missing price or size), the studio says so and filters to them in one tap.
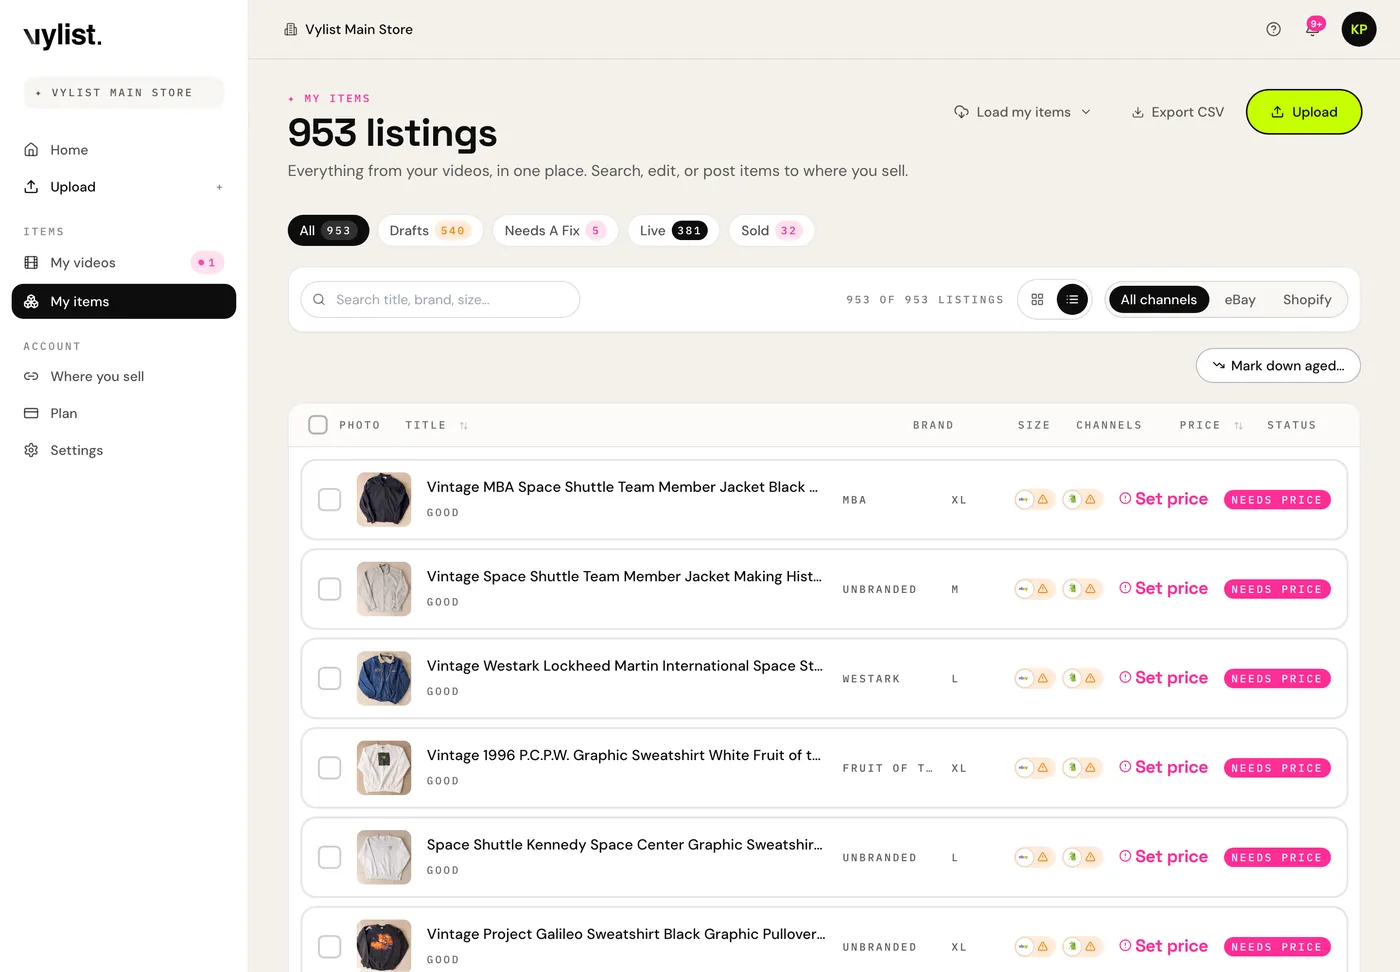
My items is everything from every video in one place — search by title, brand, or size, filter by drafts / needs a fix / live / sold, or by channel, and export the lot to CSV.
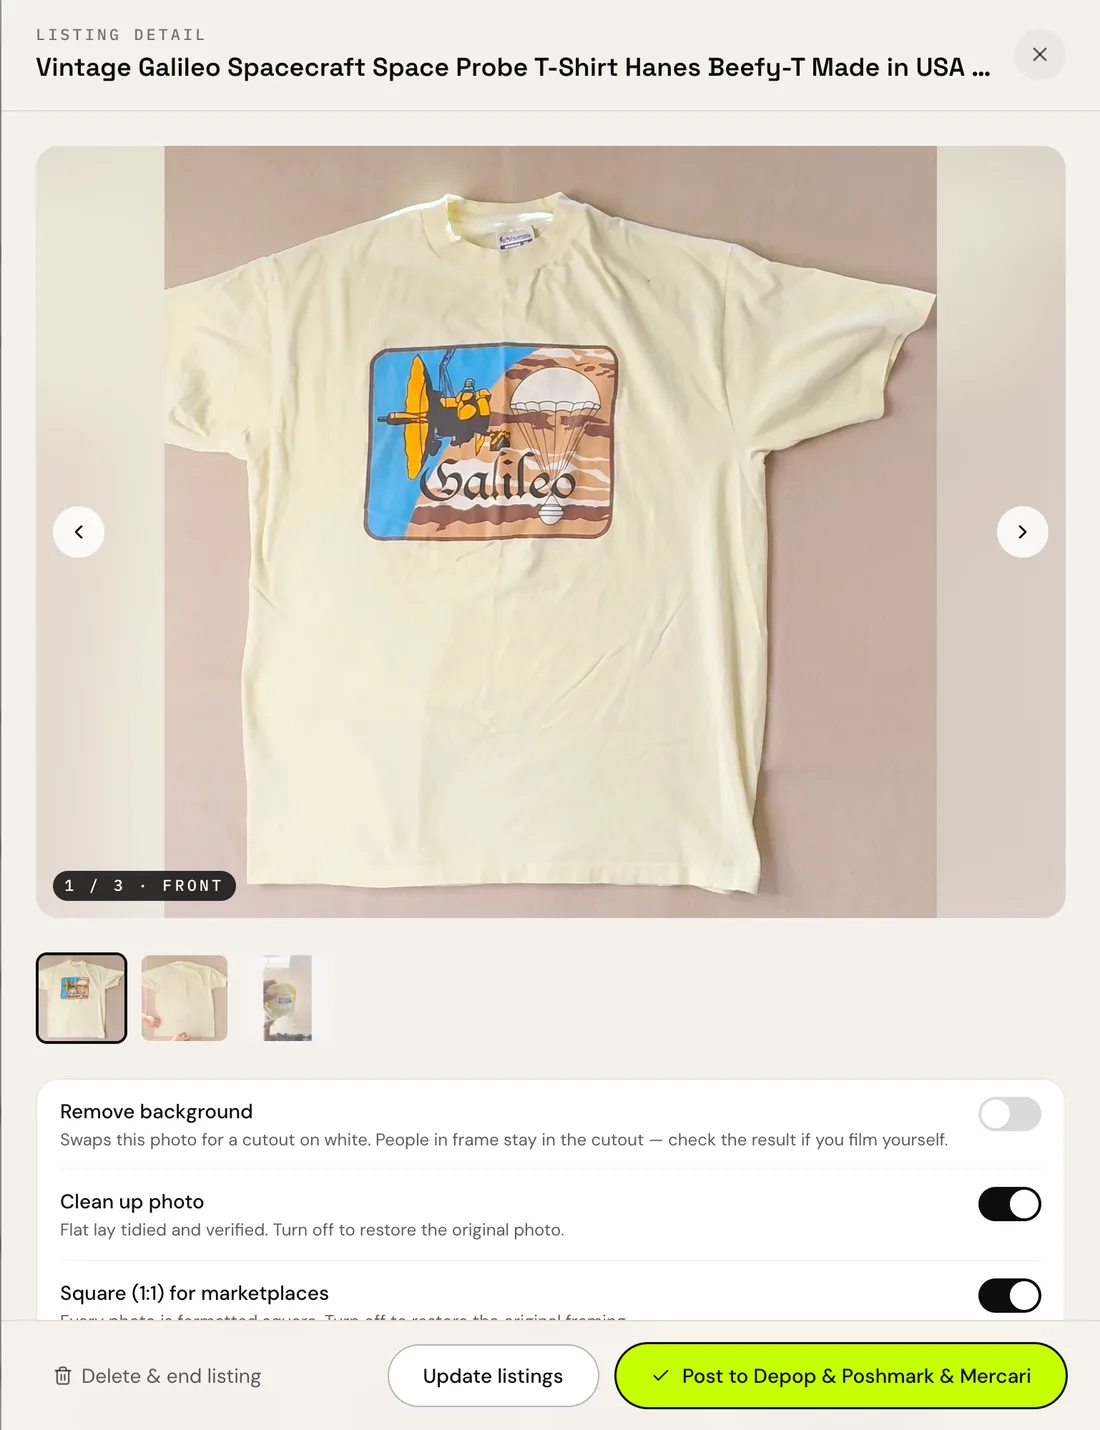
The listing editor
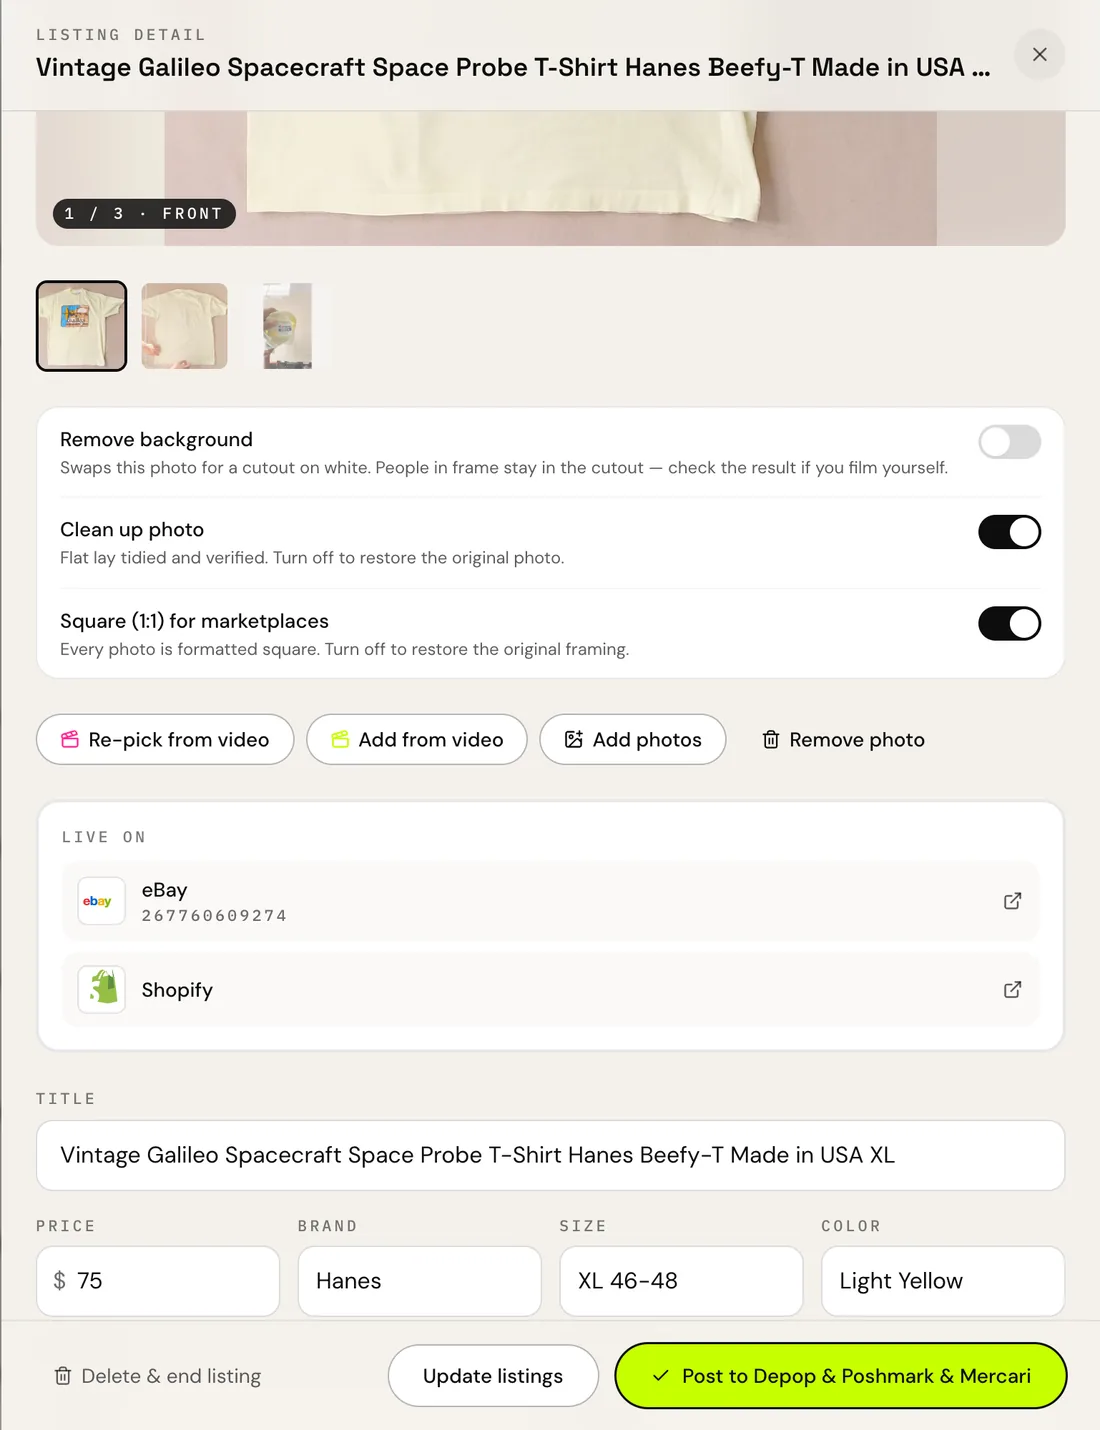
Click any item and the editor slides in. Photos up top — each one labeled front, back, or size tag — then every field we wrote: title, price, brand, size, color, category, condition, department, description. Price suggestions and recent sold comps for similar items sit right under the price so you're never guessing.
Plain-English readiness checks keep you honest — “1 thing blocking publish” means a missing price, not a mystery. Nothing posts half-finished.
Pick the exact frame. Add the extra shot.
Every photo started life as a frame of your video — and you're never stuck with our pick. In the editor, under the photos:
- Re-pick from video — scrub the original video on a filmstrip, nudge by a
second or a tenth (
−1s · −0.1s · +0.1s · +1s), pause on the frame you want, hit Use this frame. We grab it from the video in full quality — not a blurry screenshot. - Add from video — same picker, but it adds the frame as a new photo. Grab the collar detail, the fabric close-up, the flaw you want disclosed.
- Add photos — your camera roll counts too. Add up to 8 photos per listing (iPhone HEIC is fine — we convert it).
- Remove photo — two taps, on purpose: the button arms to “Tap again to remove” so a stray tap never nukes a shot.
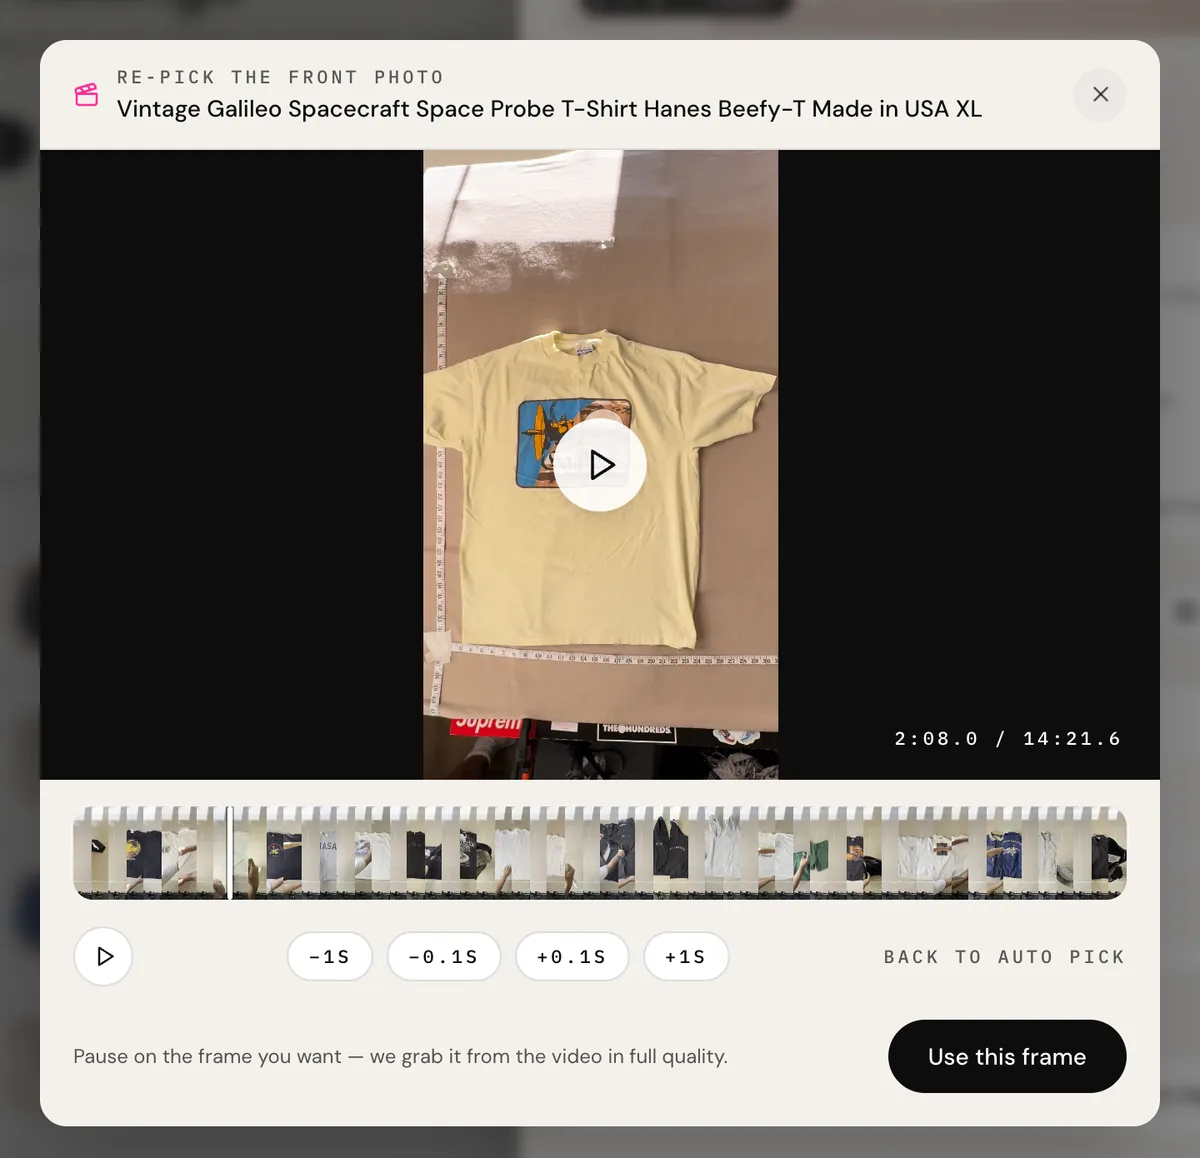
Photo cleanup, on your terms.
Three adjustments, each with an on/off switch — and each one lives in two places. Flip them in Settings → Listing defaults and every new upload comes out that way; flip them per listing in the editor to apply or undo one at a time. Originals are never thrown away: turning a toggle off puts your untouched photo straight back.
Remove backgrounds
Cuts the item out and drops it on clean white — the marketplace-catalog look, straight from a video frame. Tape measures, backdrop, clutter: gone. Drag the handle:

real output — same photo, one toggle
Photos of people come out as cutouts too — if you film yourself holding each piece, check the result before posting, or re-pick a frame where the garment stands alone.
Clean up photos
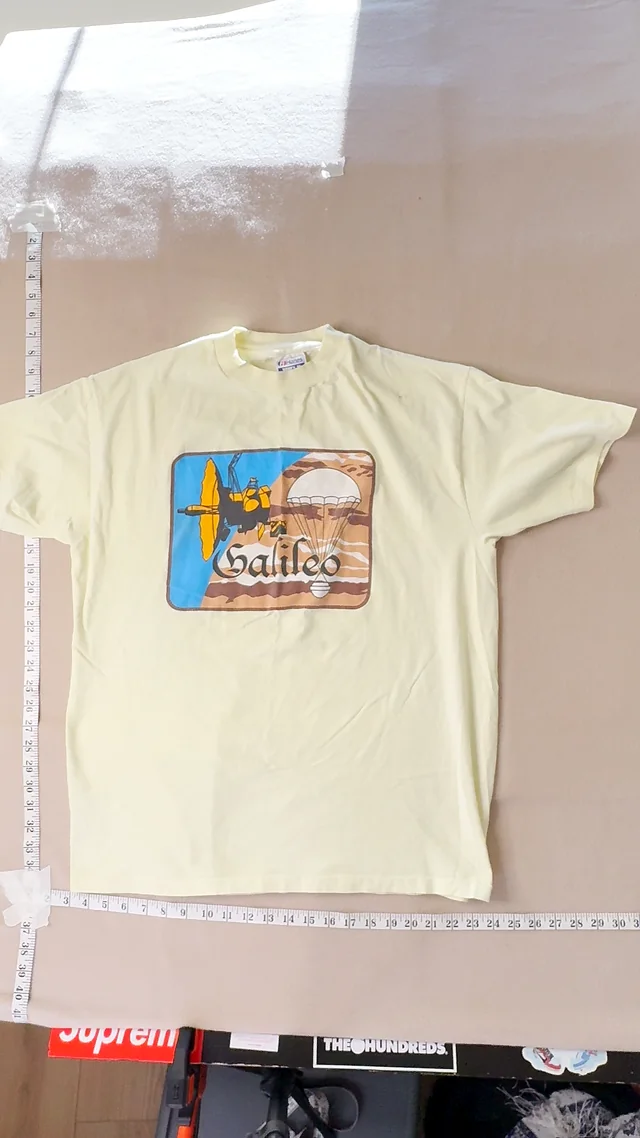
Tidies the front photo: clutter and tape measures removed, the garment laid out straighter. Details, flaws, and colors stay exactly as filmed — every cleaned photo is checked against your original, and if we can't verify it's accurate, your original stays. Size-tag photos are never touched.
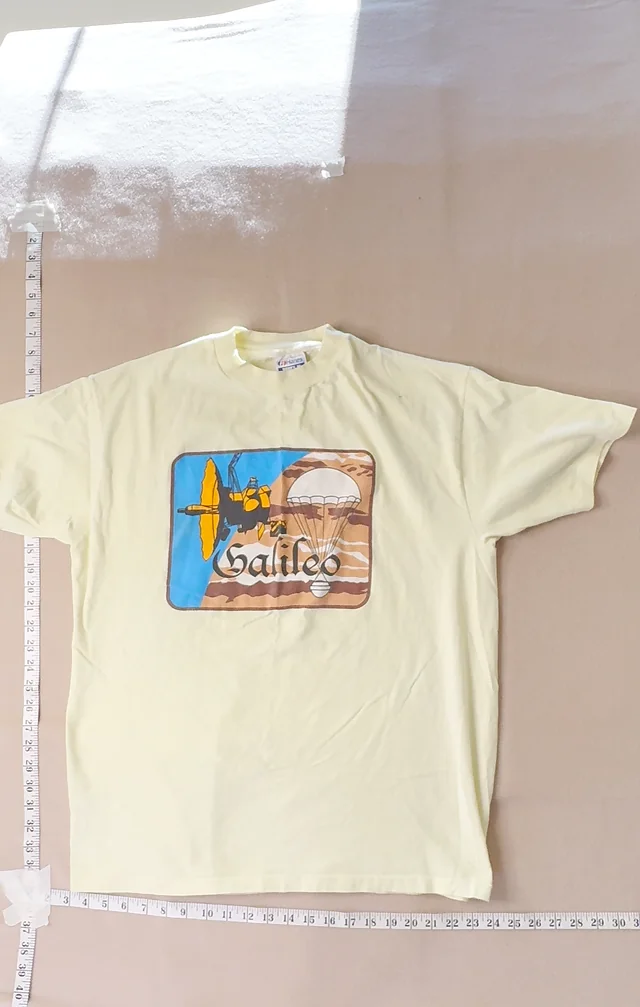
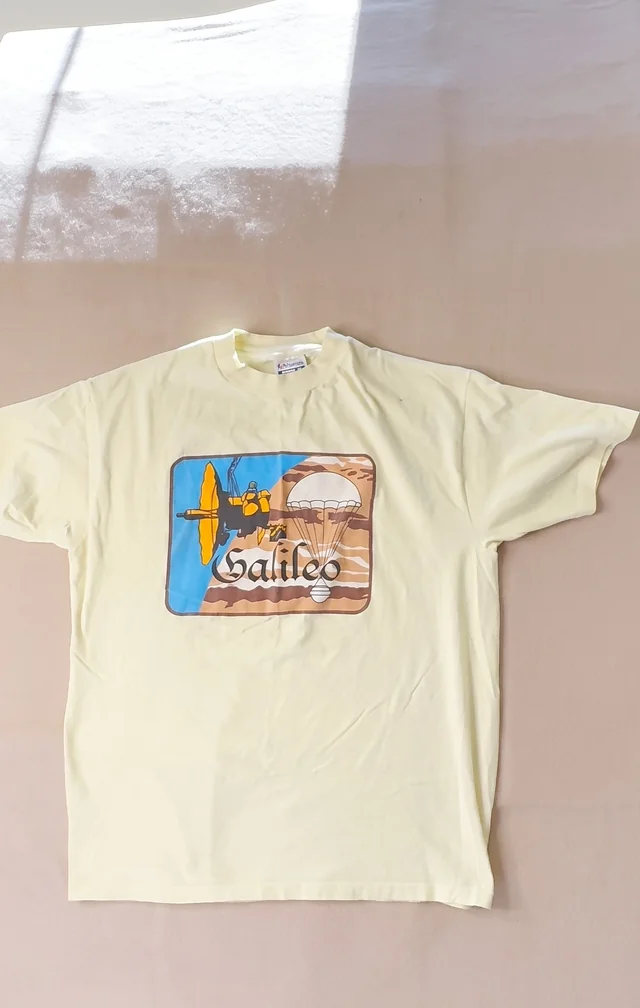
real output — an actual listing from the vylist closet
Runs on the front photo only, takes about a minute, and keeps running if you close the editor.
Format photos to a square (1:1)
Depop, Poshmark, and Mercari show photos in square grids — and crop whatever doesn't fit. We frame each photo around the item instead, and letterbox rather than crop when trimming would cut something off. Size tags stay fully readable, every pixel kept:
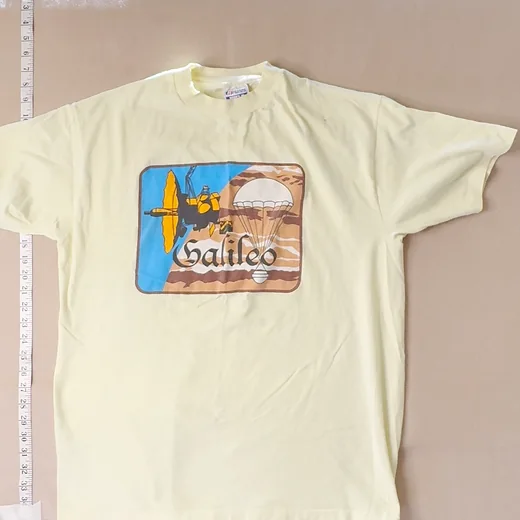
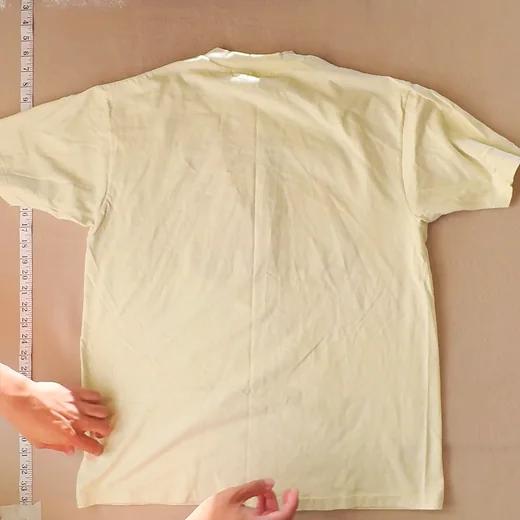
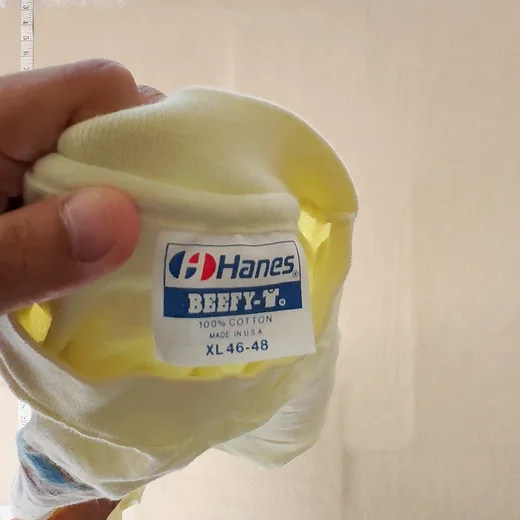
off — the grid crops for you: sleeves chopped, tapes in frame

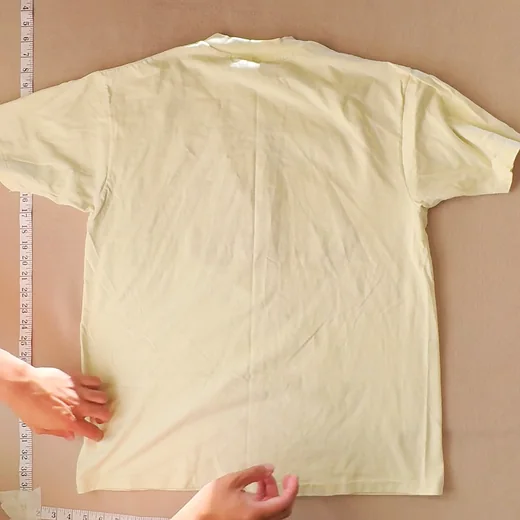
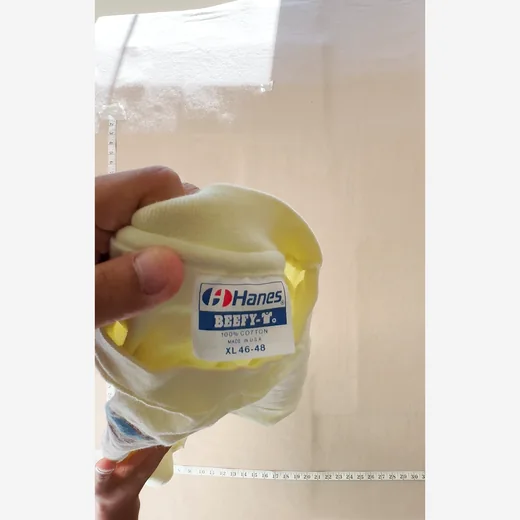
on — framed around the item: whole tee, tag readable, one clean grid
the same three photos, posted both ways
Applies to the whole listing at once, so your grid looks consistent on every square marketplace.
One item, everywhere you sell.
Where you sell is the channel page — hook up as many as you like: eBay, Depop, Poshmark, Mercari (beta), and Shopify. eBay and Shopify connect with a regular sign-in. Depop, Poshmark, and Mercari connect through the Vylist browser extension — it reads your logged-in session, so your password never touches Vylist. Each card walks you through the one-time seller setup a marketplace wants (payouts, addresses) before your first post.
Posting
From any listing, pick the channels and hit Post — or select a whole batch and Publish all. We hold anything that isn't ready and say why in plain English: under the $3 marketplace minimum, missing a size, Mercari package details unconfirmed. Everything else goes live, the bell up top reports each result, and every live listing links straight out to the marketplace.
After that: price changes and edits push to your live channels, and removing an item from one channel never touches the others.
Post once. The same shirt, the same photos, live everywhere you sell.
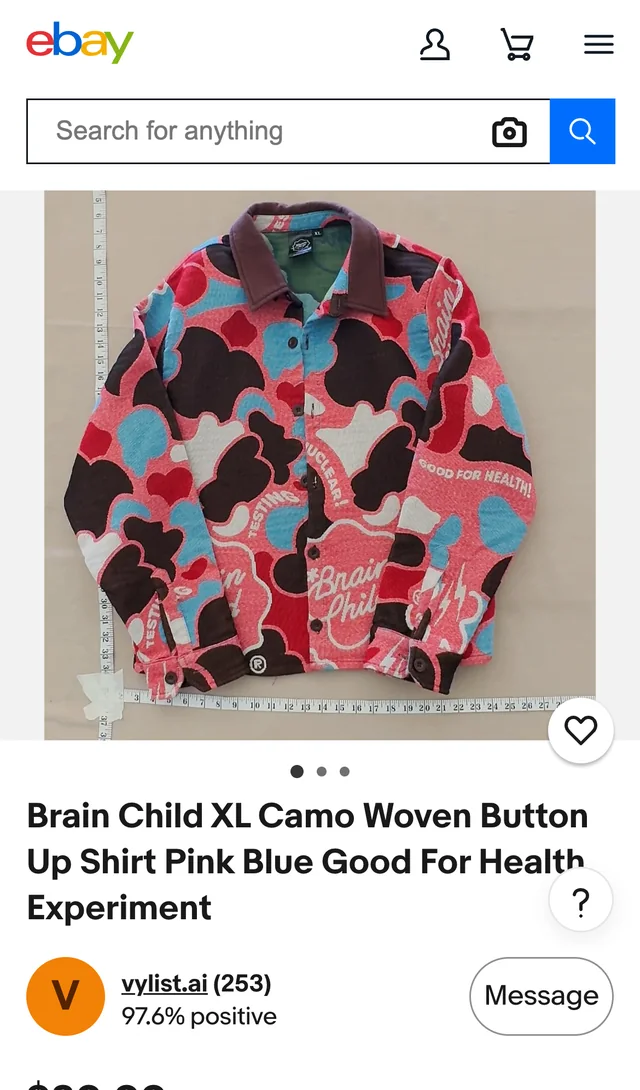
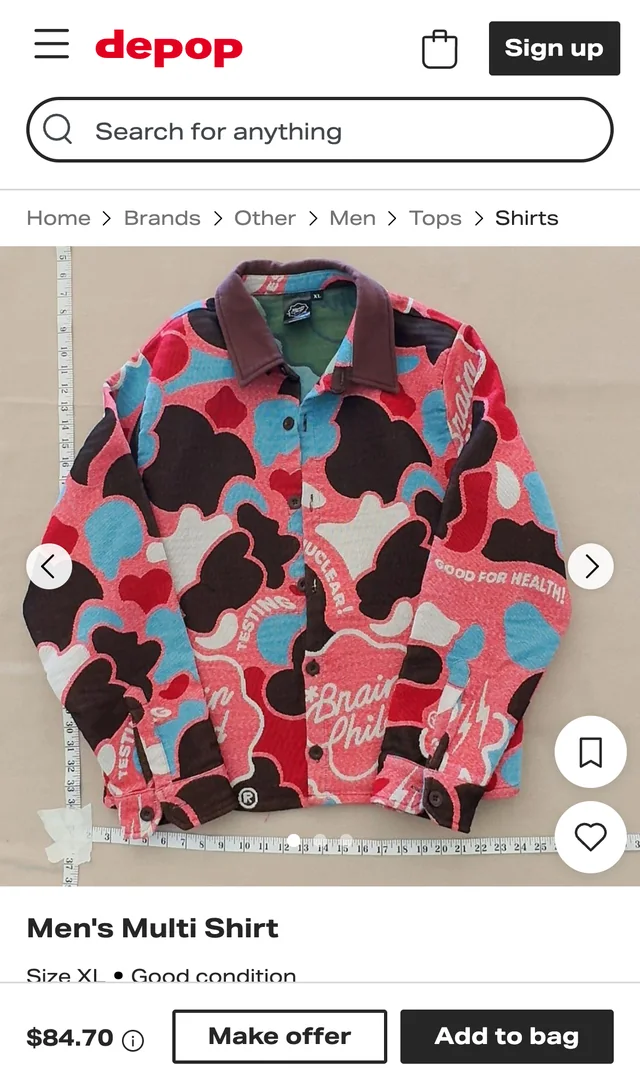

Try it on one rack of clothes.
Film one slow pass tonight — front, back, tag — and see what comes back. Your first 100 listings are free, no card required.
Start with 100 free listings I already have an account